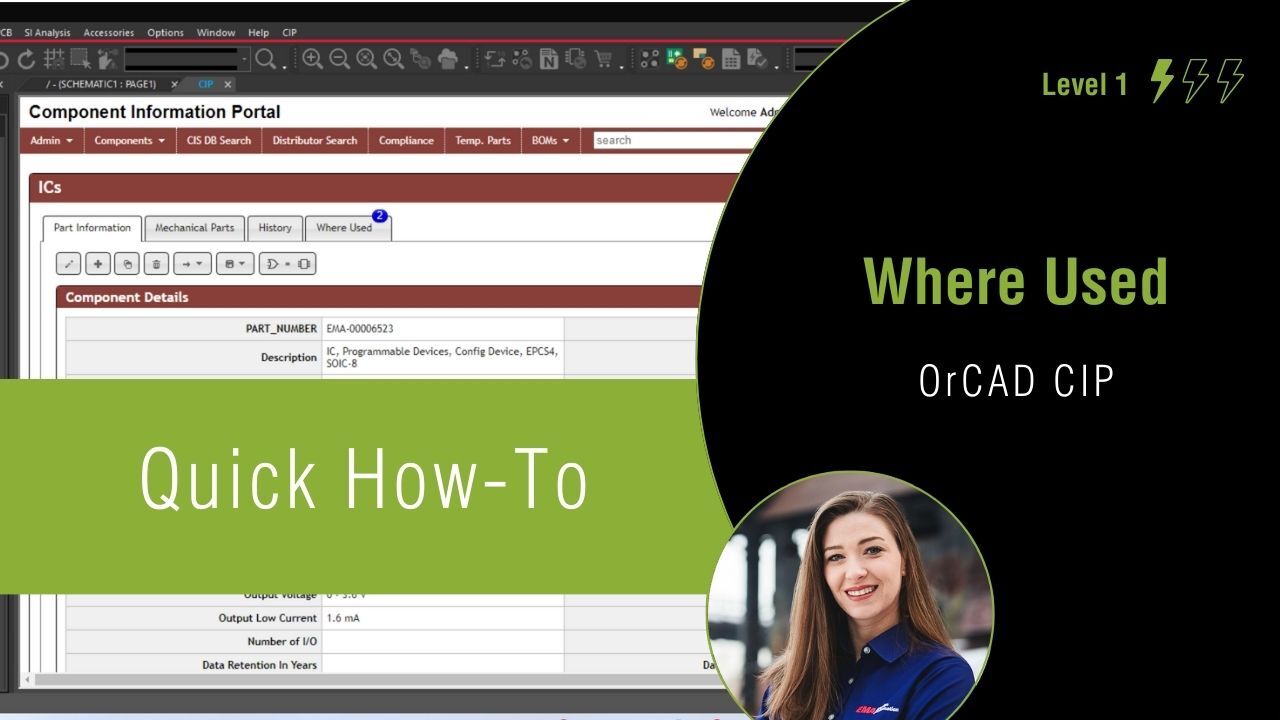
Many of today’s electronic products leverage a company’s intellectual property, reusing known-good circuits and making modifications to accelerate the design process; however, with fluctuations in the supply chain and a rapid component lifecycle, ensuring all the components needed are available and purchasable can be time-consuming. With Where Used functionality in OrCAD CIP, you can easily identify every design a component is used in to easily identify and replace unavailable components.
This quick how-to will provide step-by-step instructions on how to use where used functionality in OrCAD CIP.
How-To Video
 Open in New Window
Uploading a Bill of Materials
Step 1: Open the desired design in OrCAD X Capture CIS.
Note: The selected design must be completed with components found in your component database.
Step 2: Select CIP > Open CIP from the menu. If prompted, login with your username and password.
Step 3: To track where parts are used, Bills of Materials (BOMs) for projects must be uploaded. In CIP, select BOM > View/Import from the menu.
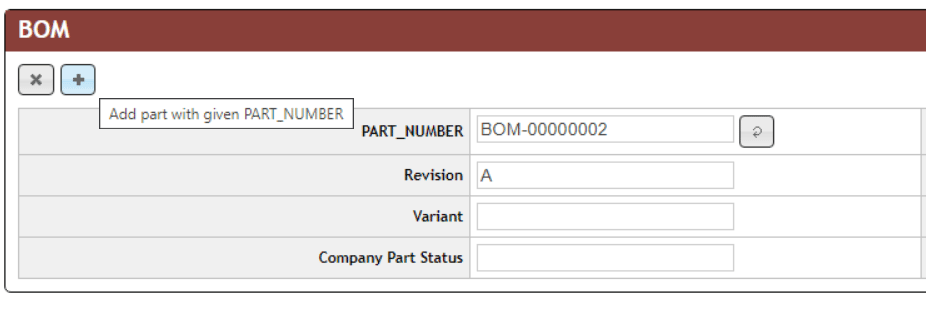
Step 4: Select the + icon to add a new BOM in CIP.

Step 5: Add a Part Number for the BOM or select the auto-generate icon to fill in the field with the next available BOM number.
Step 6: Add a Revision for the BOM and any other desired information.
Step 7: Select the + icon to add the BOM with the defined part number.

Step 8: Select Delimited for the BOM view. This will display a BOM with each part number shown on a single line where reference designators are shown as a comma separated list.
Note: Other BOM view options include:
- Single: Each reference designator is shown on a single line.
- Compact: Each part number is shown on a single line where reference designators are shown as ranges or a comma separated list.
BOM views can be configured before or after import.
Step 9: In this interface you have the option to import the BOM from a CSV file or use a design. Select Import from DSN.
Step 10: The opened design is automatically selected in the BOM Import window. Select Import BOM.
Note: To successfully import a BOM from a design, all components must be found in your component database.

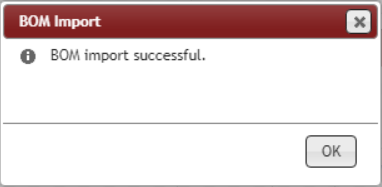
Step 11: When BOM Import is complete, a pop-up window will appear. Click OK to close the window.
Identifying Obsolete Components
Step 12: Select CIS DB Search from the main CIP menu.

Step 13: Select the drop-down list for Parametric Field and select Company Part Status.
Note: This can also be configured to search Manufacturer Part Number Status by selection Manufacturer PN Status from the Parametric Field drop-down list.
Step 14: Ensure Contains is selected as the Operator.
Step 15: In the Parameter field enter Obsolete.
Note: Additional search fields can be configured by selecting the + under the Add/Remove column.
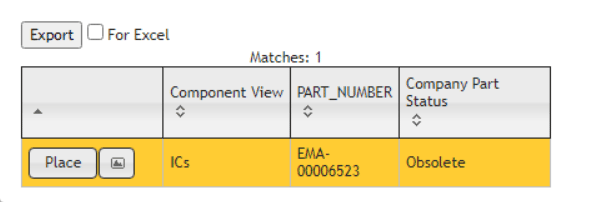
Step 16: Select Search. The search returns any components listed as Obsolete within the Company Part Status field.
Where Used Functionality in OrCAD CIP

Step 17: Select the part number for desired component from the search results to view additional details.

Step 18: If this component is used in any designs, the number of BOMs the component is used in will be visible on the Where Used tab. Select the Where Used tab.
Note: To utilize the Where Used functionality, BOMs must be imported and managed within CIP.
Step 19: All designs and BOMs where the component is used are reported. Select the desired BOM Part Number to view the BOM.
Wrap Up & Next Steps
Easily identify every instance of a component’s use throughout all your designs with Where Used in OrCAD CIP. Get more step-by-step instructions for OrCAD CIP at EMA Academy.
