When placing components on the PCB, it’s important to minimize routing of critical traces between components to improve signal quality. Ratsnests lines provide a preview of the connections allowing you to analyze and adjust component rotation and location to obtain the optimal placement for the design. When the ideal configuration is not known, manually rotating components can slow the design process. OrCAD PCB Designer allows you to quickly rotate components with commands and keyboard shortcuts to streamline component placement.
This quick how-to will provide step-by-step instructions on how to use commands and assign keyboard shortcuts to quickly rotate components in OrCAD PCB Designer.
To follow along, download the materials above the table of contents.
How-To Video
 Open in New Window
Rotate Components in OrCAD PCB
Step 1: Open the provided design in OrCAD PCB Designer.
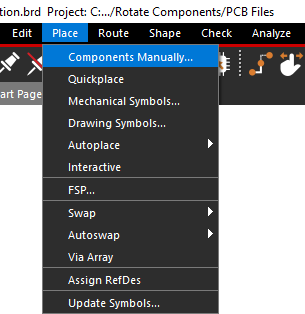
Step 2: Select Place > Components Manually from the menu.
Step 3: The placement window opens with a list of components. Check IC1 to place it.
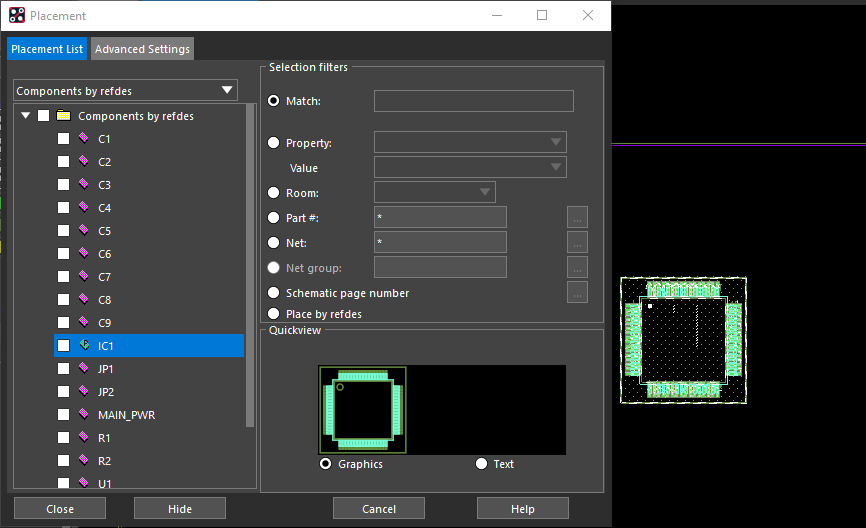
Step 4: Click to place IC1 in the PCB canvas.
Step 5: Click Close to close the placement window.
Note: Do not use the ‘X’ to close the window in the headerbar or the IC will not be placed.
Step 6: Select Setup > Application Mode > Placement Edit from the menu.
Step 7: Click the placed IC to re-attach it to your cursor.
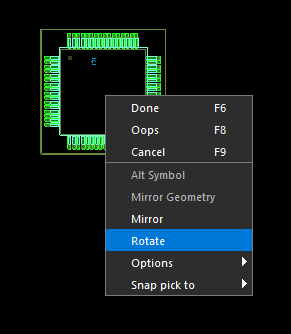
Step 8: Right-click and select Rotate.
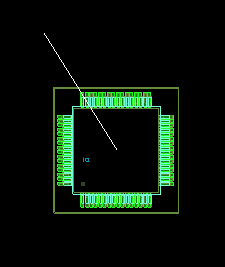
Step 9: Move the mouse to change the rotation and click to accept the rotation.
Step 10: Click to place the component.
Rotating with Commands
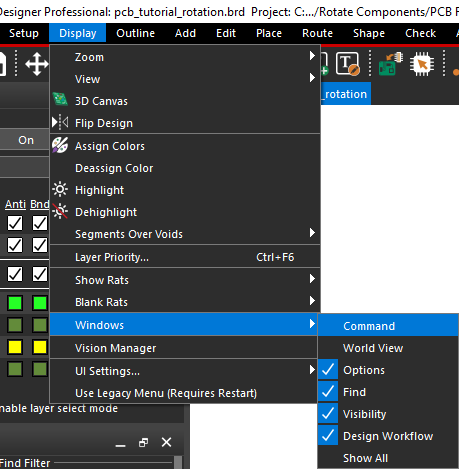
Step 11: If the Command window is not visible, select Display > Windows > Command from the menu.
Step 12: Click the IC to re-attach it to your cursor.
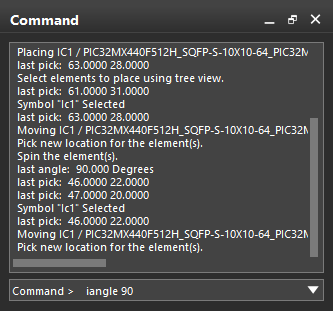
Step 13: In the Command window, enter iangle 90 and press Enter. The component is rotated 90 degrees.
Note: Enter iangle 180 or iangle 270 to rotate the component 180 or 270 degrees, respectively.
Step 14: Click to place the component on the board.
Assigning a Shortcut Key
Note: A shortcut key can be assigned for quick rotation.
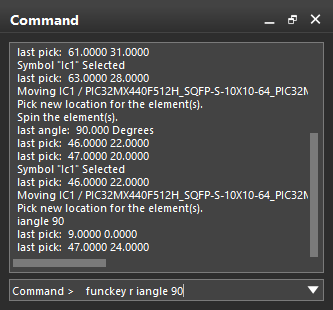
Step 15: In the Command window, enter funckey r iangle 90. Press Enter.
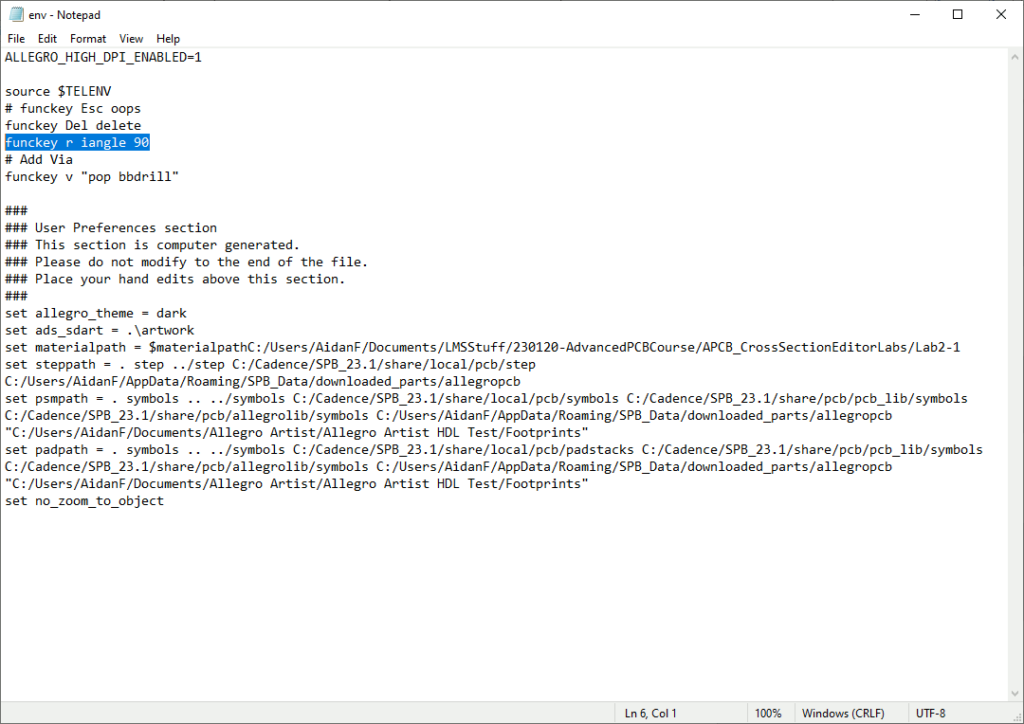
Note: This will assign the iangle 90 command to the <R> key on the keyboard for the current session. To assign this command permanently, add the command to the env file in your pcbenv folder. Get instructions here.
Step 16: Select Place > Components Manually from the menu.
Step 17: Check Y1 and hover the cursor over the PCB canvas.
Step 18: Press R on the keyboard. The component is rotated 90 degrees with a single keystroke.
Step 19: Click to place the component on the board.
Wrap Up & Next Steps
Quickly and easily use commands and keyboard shortcuts to rotate components in OrCAD PCB and streamline the PCB layout. To test out this feature and more get a free trial of OrCAD.

