Many modern PCB designs require similar circuitry or multiple instances of the same circuit. Individually placing components for similar circuits can be a time-consuming process. Placement replication can be used to quickly replicate circuits in OrCAD X Presto in the same board or reuse intellectual property (IP) from other designs to accelerate the PCB layout process while utilizing a known-good component configuration.
This quick how-to will provide step-by-step instructions on how to quickly replicate component placement in OrCAD X Presto Professional.
To follow along, download the provided files above the table of contents.
How-To Video
 Open in New Window
Create a Replication Module
Step 1: Open the provided design in OrCAD X Presto Professional.
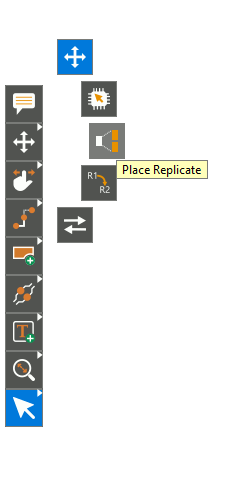
Step 2: Right-click the Move mode in the toolbar and select the Place Replicate mode.
Step 3: The Place Replicate widget opens with the Create function selected. Enter powersup for the name. This will define a module name which can be applied to automatically place the circuit later.
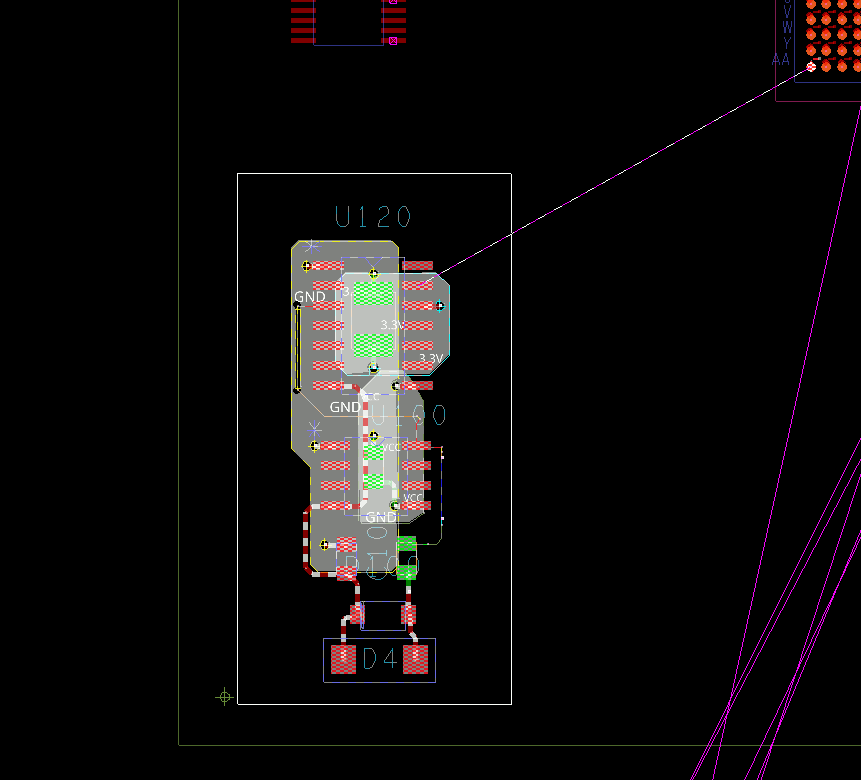
Step 4: Click and drag to select the clustered power supply in the bottom-left corner of the board.

Note: If the Quick Help feature is active, a tooltip is shown on screen to help guide you through the process and steps required to use placement replication. To enable Tool tip functionality, select Edit > Preferences from the menu and choose System > Quick Help in the Preferences window. Choose whether to display the icon only or full message window and whether to show information, warnings, or errors.
Step 5: Click any of the selected components to finish.
Step 6: Select the center of U100 for the origin. The replicate circuit has been created.
Replicate Circuits in OrCAD X Presto
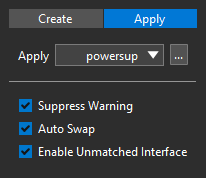
Step 7: Select Apply in the Place Replicate widget. The widget expands to show new options. Ensure all options are checked. The powersup circuit is automatically selected.
Note: To select a different reuse module, select the ellipsis adjacent to the drop-down menu and browse to the desired module. Additional options are available in the Apply mode including:
- Suppress Warning: If checked, suppresses any placement warnings.
- Auto Swap: If checked, swappable components are automatically chosen. If unchecked, the Swap Interface window opens when a replicate circuit is selected.
- Enable Unmatched Interface: Prevents a circuit from being placed if any unmatched components are present. If unchecked, the relevant traces and shapes are still placed.
Step 8: The components below the board overlap and are not organized. Placement replication will automatically sort them. Click and drag to select the scattered group of components below the board outline.
Step 9: Click a component to attach a replicated circuit to your cursor. The circuit is made up of selected components. All components are matched.
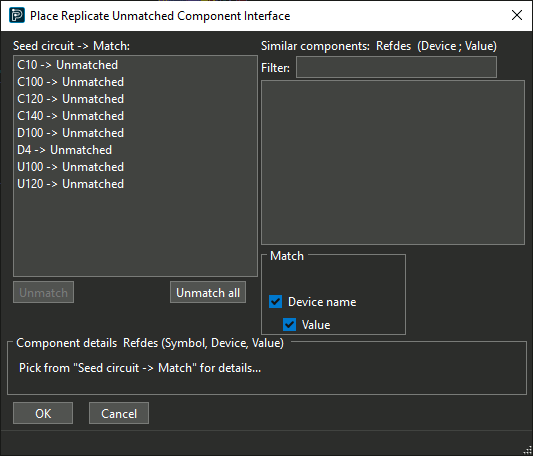
Note: If any unmatched components are present, and Enable Unmatched Interface is checked, the Unmatched Component Interface window opens.
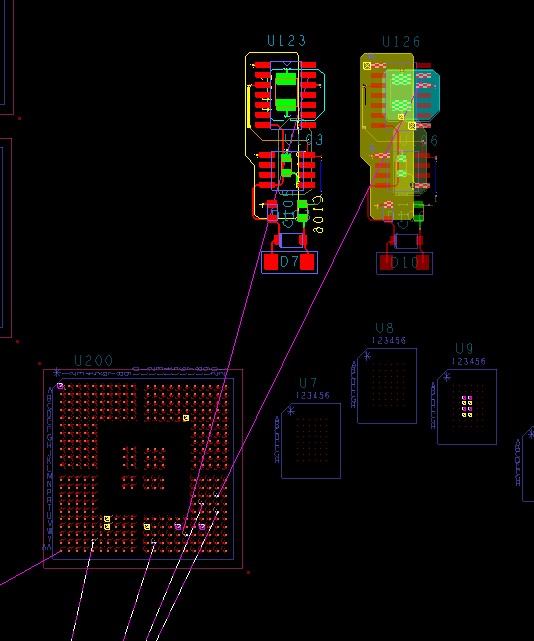
Step 10: Click to place the circuit on the PCB. The circuit remains attached to the cursor.
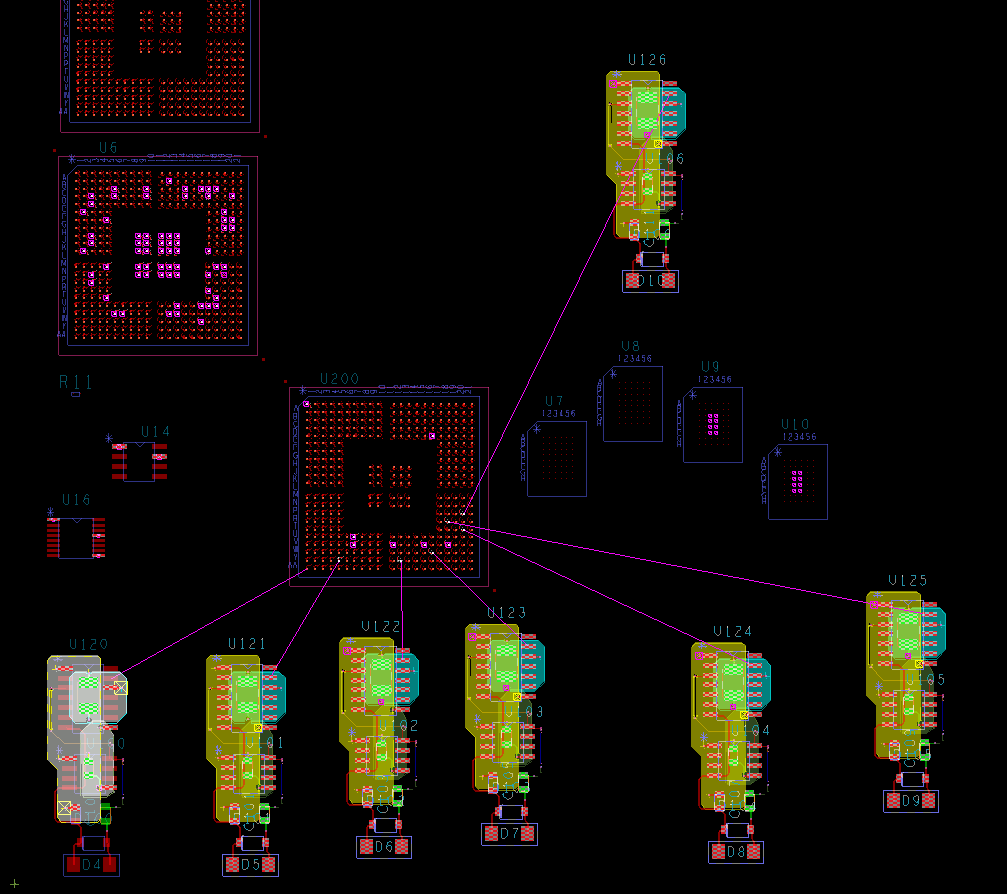
Step 11: Click to place six power supplies around the board until the matching components are used up. The cursor is cleared.
Step 12: Choose the Select mode from the toolbar or press Escape on the keyboard to return to the selection mode.
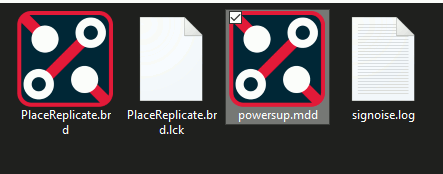
Note: The replicated circuit file is saved in the working directory as powersup.mdd and can be used in future designs to accelerate the PCB layout.
Wrap Up & Next Steps
Quickly and easily replicate circuits in OrCAD X Presto with placement replication to accelerate the PCB design process and reuse known-good circuitry. Test out this feature and more with a free trial of OrCAD X Presto. For more how-tos and step-by-step walk-throughs, visit EMA Academy.