Today’s electronics come in as many shapes and sizes as there are devices. The PCBs included in these electronic products must match fit within the enclosure resulting in custom board outlines. Easily draw a board outline in OrCAD X Presto for the quick and easy creation of regular and irregular PCBs from scratch.
This quick how-to will provide step-by-step instructions on how to draw a board outline in OrCAD X Presto.
To follow along, download the provided files above the table of contents.
How-To Video
 Open in New Window
Draw a Board Outline in OrCAD X Presto: Polygon
Step 1: Open the provided design in OrCAD X Presto.
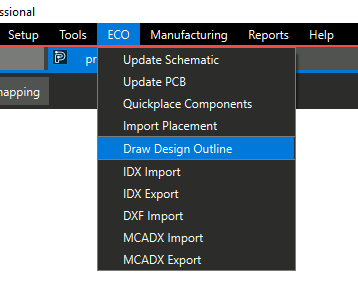
Step 2: To draw a board outline from scratch, select ECO > Draw Design Outline from the menu.
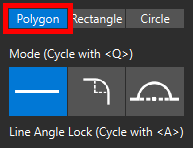
Step 3: The design outline widget opens. From this widget, you can select whether to draw a custom polygonal, rectangular, or circular board shape. In the polygonal mode, you can choose to draw lines, tangent arcs, or perpendicular arcs. The line mode is selected by default. Select Polygon.

Step 4: Click to start drawing the first line of the shape in the canvas. The length and angle of each line are shown under the cursor.
Note: Press A on the keyboard to lock the line angle to 90° or 45°.
Step 5: Click to place a vertex approximately 80mm to the right.
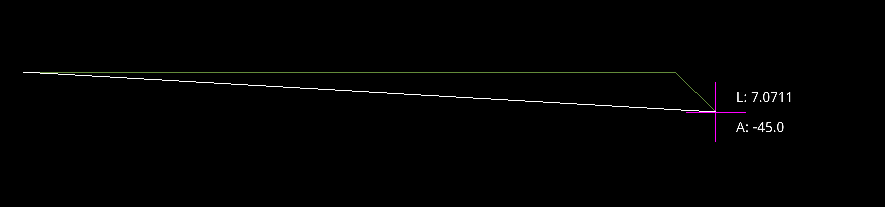
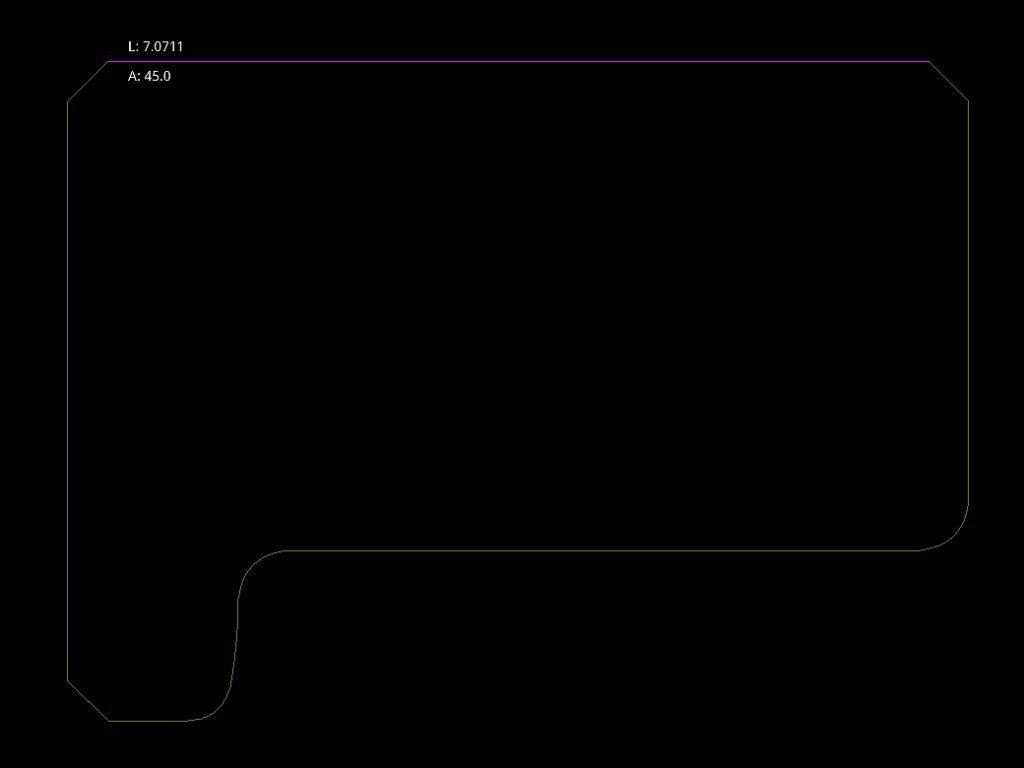
Step 6: A white guideline is shown between the cursor and the start of the shape. Click to place another vertex at a 45° angle approximately 5mm down (edge length approx. 7mm). A chamfer has been added.
Step 7: Click to place another vertex approximately 50mm below the first horizontal line.
Draw a Board Outline in OrCAD X Presto: Curves
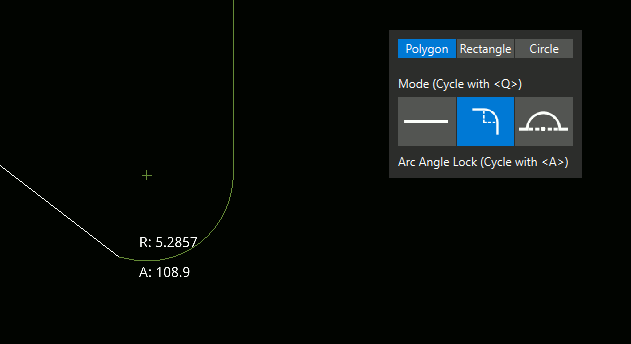
Step 8: Press Q on the keyboard to change the mode to Tangent Arc. The Tangent Arc option is selected in the design outline widget and the line attached to your cursor changes to an arc.

Step 9: Click to draw a 90° arc with a radius of approximately 6mm.
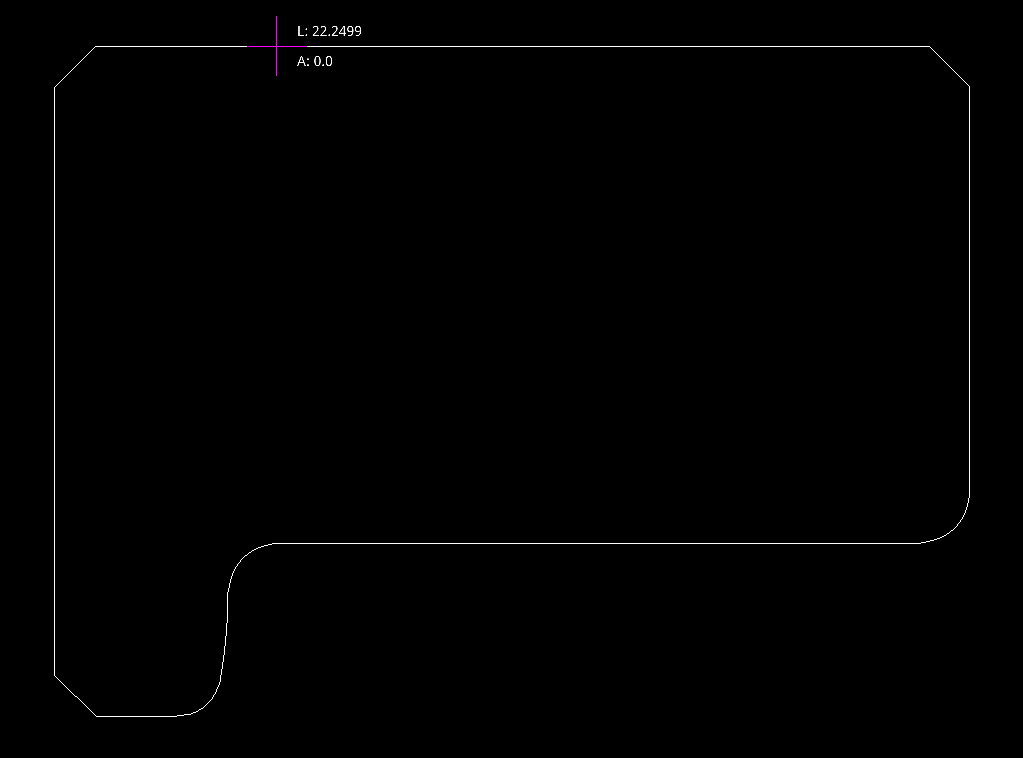
Step 10: The arc mode can also be used to draw a horizontal line. Click to place another vertex under the start of the first line.
Note: The white reference line turns magenta under the start of the first line.
Step 11: Click to draw a 90° arc with a radius of approximately 6mm below the line.
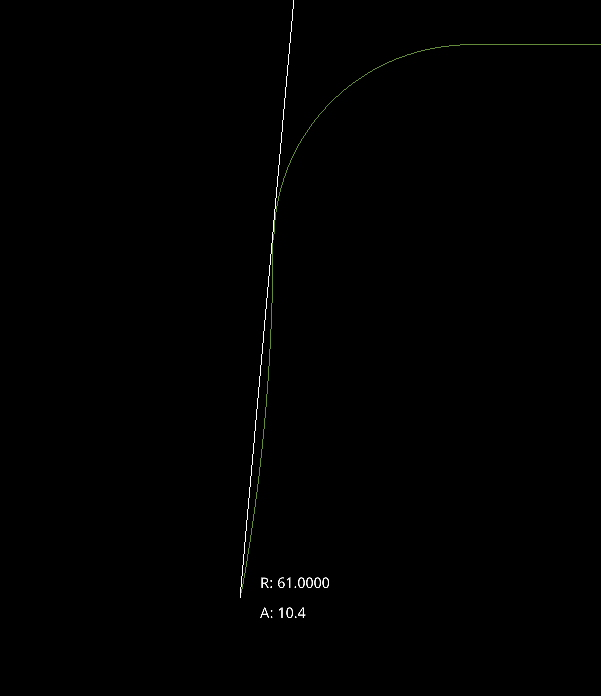
Step 12: Click to draw another arc approximately 10mm below the line with an angle of approximately 10°.
Step 13: Click to draw an arc of approximately 80° with a radius of approximately 5mm to return to orthogonal mode.
Step 14: Press Q on the keyboard twice to return to Line mode.
Completing a Board Outline in OrCAD X Presto
Step 15: Click to draw additional lines and chamfers until the outline drawing matches what is shown above.
Step 16: Hover your cursor over the start of the board shape. The outline turns white, indicating that the shape is completed. Click to close the shape.
Step 17: The route and component keepins are automatically drawn and the old outline is removed. Choose the Select mode from the toolbar.
Modifying a Board Outline in OrCAD X Presto
Note: The outline can be modified and adjusted after it is drawn. We will demonstrate by adding a notch to the board.
Step 18: Select the outline in the canvas. Right-click and select Edit Boundary.
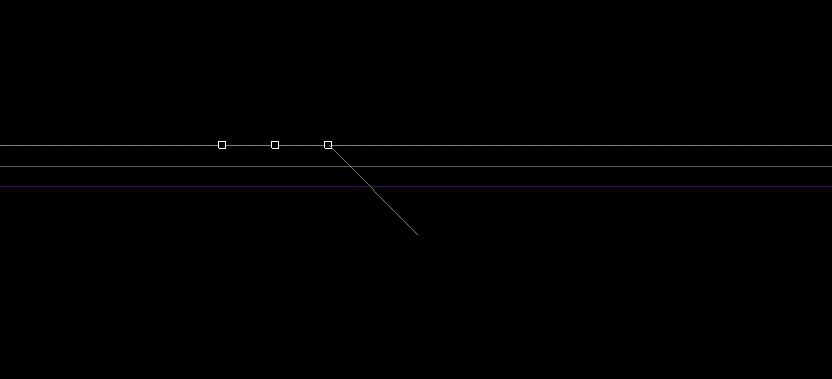
Step 19: Select the desired edge to draw the notch. A new drawing line automatically appears.
Step 20: Click to draw the notch a short distance across the line, then click again to finish the notch. The notch is automatically added and the route and component keepins are adjusted automatically.
Wrap Up & Next Steps
Quickly draw a board outline in OrCAD X Presto with polygons, curves, and lines to create custom PCBs. Don’t have OrCAD X Presto? Get your free trial here; and for more step-by step instructions and walk-throughs on using OrCAD X Presto, visit EMA Academy.

