Meeting timing requirements is crucial in high-speed designs and is often accomplished by length matching and delay tuning for critical nets. To help accomplish this, OrCAD PCB Designer Professional provides a timing meter on the PCB Canvas during routing for visual feedback on adherence to defined timing rules. This real-time, color-coded meter, typically fixed in the corner of the PCB canvas, can be attached to your cursor as you route. This prevents you from simultaneously looking at multiple locations on the PCB canvas and improves your user experience- all while helping you meet critical timing constraints.
This how-to will provide step-by-step instructions on how to detach the timing meter in OrCAD PCB Designer for improved visibility of constraint adherence while routing.
How-To Video

Configuring User Preferences
Step 1: In OrCAD PCB Designer Professional, select Setup > User Preferences from the menu.
Note: The User Preferences Editor allows you to set or unset environment variables or preferences from a graphical user interface.
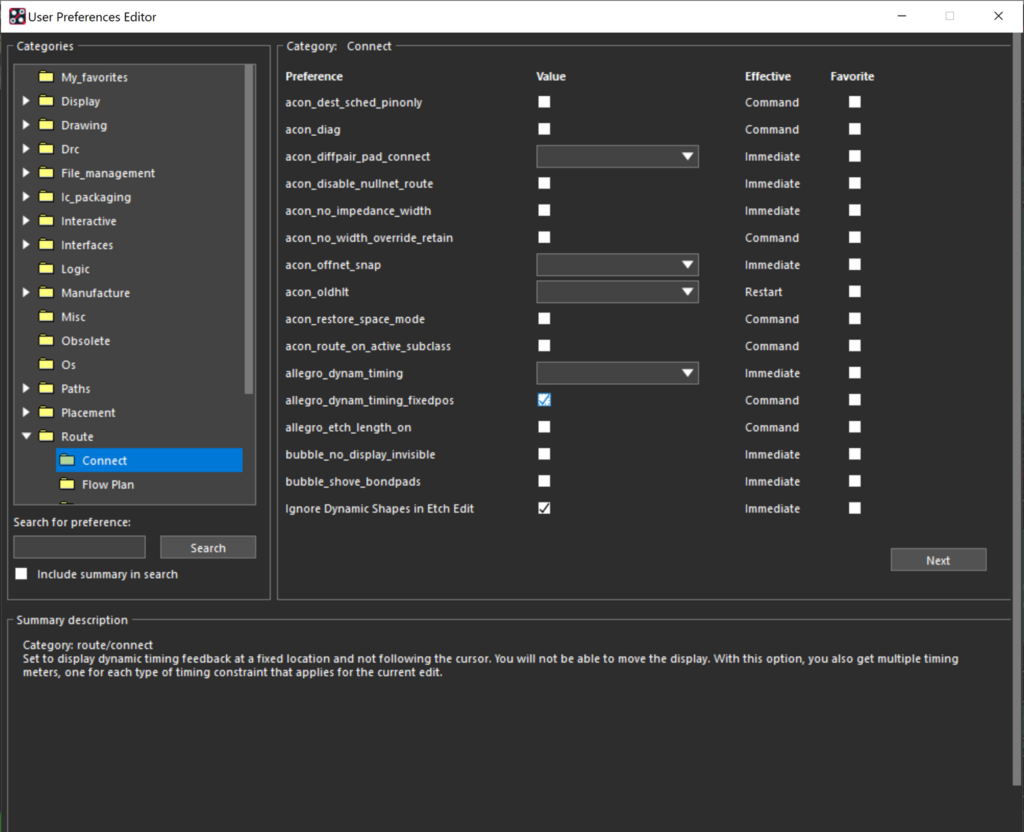
Step 2: Under the User Preferences Categories, expand Route and select Connect.
Step 3: Under Value, deselect the check box for the allegro_dynam_timing_fixedpos preference.
Note: The allegro_dynam_timing_fixedpos preference allows real-time, color-coded feedback to be attached to your cursor while routing nets, extended nets (Xnets), buses, differential pairs, and pin pairs which have constraints set for:
- Propagation Delay
- Relative Propagation Delay
- Total Etch Length
Step 4: Select Apply and OK.
Note: If the selected net has associated timing constraints, the real-time, color-coded meter will now be attached to the cursor during routing.
Wrap Up & Next Steps
Real-time timing feedback is essential to efficiently meet critical timing constraints and create a functional design. Detaching the timing meter from a fixed position allows you to easily incorporate this feedback while you route. Test out this feature and others to streamline your PCB design process with a free trial of OrCAD PCB Designer.

