Keeping design stakeholders in the loop is crucial throughout the design process to ensure first-pass success. Since external stakeholders will likely not have access to ECAD design software, a PDF can be shared in place of the design files. However, unintelligent PDFs can be difficult to review with no efficient way of searching or reviewing component and design information. Easily configure and export a smart PDF in OrCAD Capture to share a searchable version of the design containing embedded information with stakeholders.
This quick how-to will provide step-by-step instructions on how to export a Smart PDF in OrCAD Capture.
To follow along, download the provided files above the table of contents.
How-To Video
 Open in New Window
Installing and Configuring GhostScript
Step 1: Open the provided design in OrCAD Capture.
Step 2: Select the integrator.dsn file in the Project Manager.
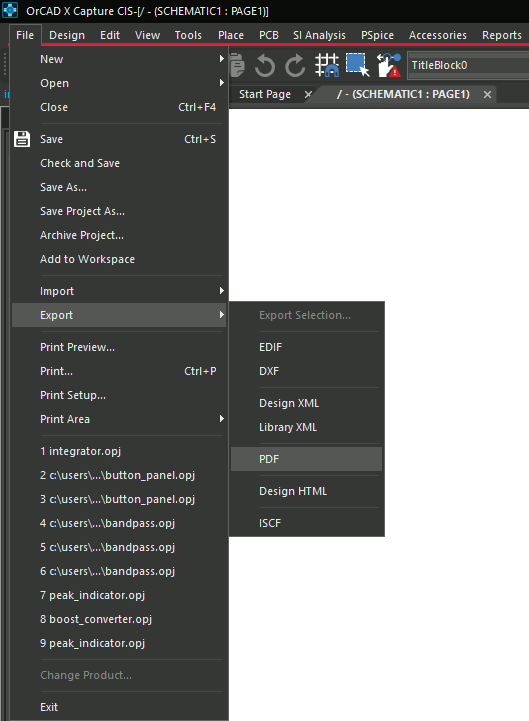
Step 3: Select File > Export > PDF from the menu. The PDF Export window opens.
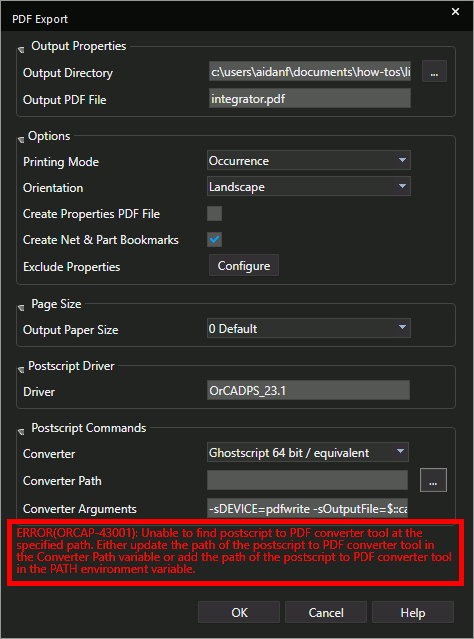
Step 4: View the text at the bottom of the window, indicating the status of GhostScript. If the text is red, GhostScript needs to be installed on your machine. If the text is green, skip to Exporting a Smart PDF.
Step 5: To download GhostScript, open a Web browser and navigate to https://ghostscript.com.
Step 6: Select Download at the top of the window.
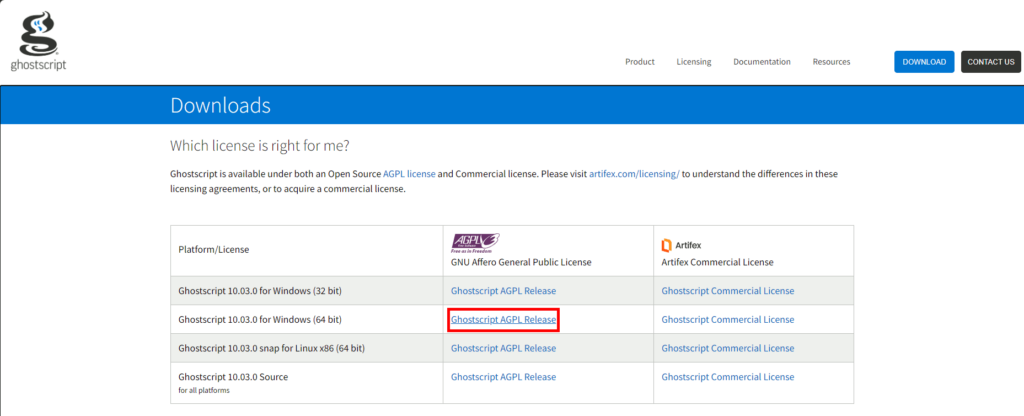
Step 7: The Downloads list opens. Select GhostScript and choose the appropriate package for your operating system to download the executable.
Step 8: Browse to a location to download the install package and click Save.
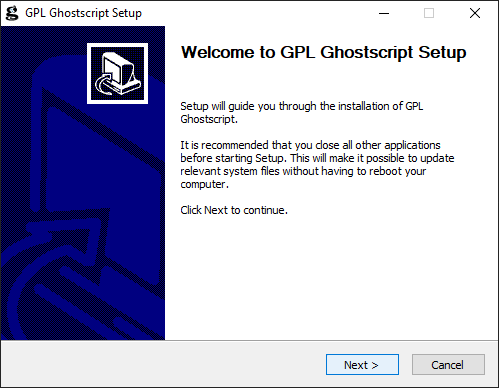
Step 9: In File Explorer, navigate to the location and run the installer. Follow all on-screen prompts.
Note: Reboot your computer if necessary to complete the installation. Re-open the provided design.
Step 10: Back in Capture, select File > Export > PDF from the menu.
Step 11: The text at the bottom of the PDF Export window is still red. The converter path must be specified to run GhostScript. Select the ellipsis for Converter Path to specify the path.
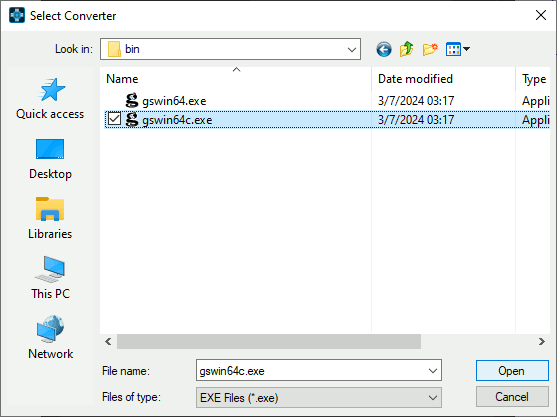
Step 12: Navigate to the location of the gswin64c.exe file, under C:\Program Files\gs\gs[version]\bin\gswin64c.exe. Select the file and click Open.
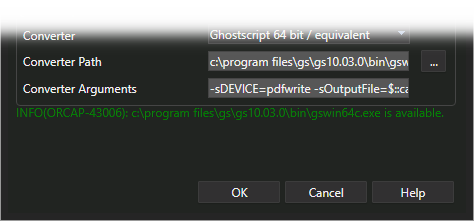
Step 13: View the bottom of the PDF Export window. The text is now green, indicating that GhostScript is available.
Export a Smart PDF in OrCAD
Step 14: Select the ellipsis for Output Directory at the top of the window.
Step 15: Browse to the desired location to save the PDF. Click Select Folder.
Step 16: Enter the desired filename under Output PDF File.
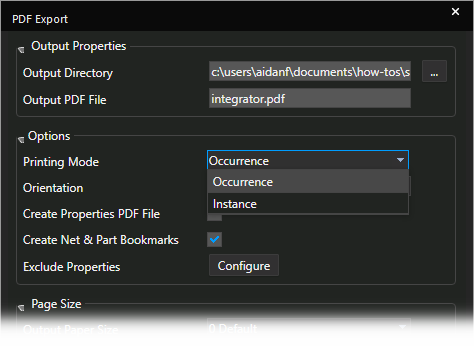
Step 17: Select Occurrence for the desired printing mode.
Note: In a hierarchical design, this will create duplicate boxes for duplicate parts.
Step 18: Select Landscape for the orientation.
Step 19: Select OK to generate the PDF.
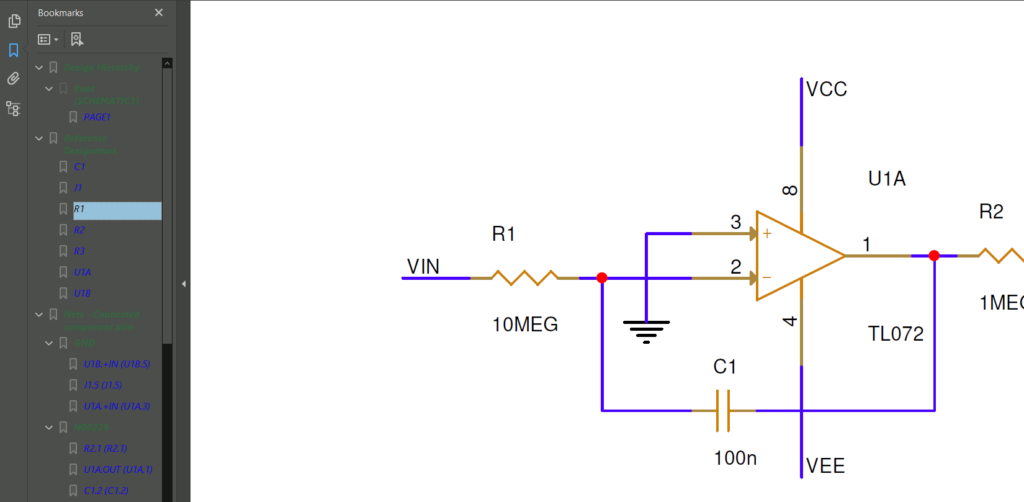
Step 20: The PDF opens automatically in your default PDF viewer. Select a bookmark in the Bookmarks panel to pan the view to that component.
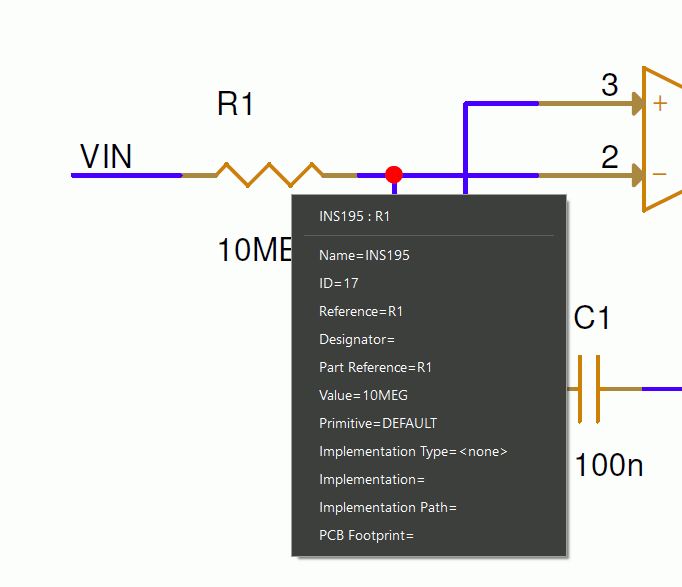
Step 21: Select the part to view additional information.
Wrap Up & Next Steps
Quickly export a Smart PDF in OrCAD Capture to share your schematic designs including component information and bookmarks and expedite the review process. Test out this feature and more with a free trial of OrCAD. Get access to free how-tos, courses, and walk-throughs at EMA Academy.

