Components in today’s high-speed and high-power designs must be placed carefully on the PCB to avoid any issues with signal integrity. Communicating critical placement between the schematic and PCB layout is a crucial step in the PCB design process to ensure proper design functionality. This can often be accomplished by assigning groups of components to certain areas on the board to keep connections short. Easily define these areas and assign rooms for components in OrCAD Capture to embed design intent and ensure optimal placement.
This quick how-to will provide step-by-step instructions on how to assign rooms for components using the room property in OrCAD Capture.
To follow along, download the materials provided above the table of contents.
How-To Video
 Open in New Window
Creating a Room for Connectors
Step 1: Open the provided design in OrCAD Capture.
Step 2: Right-click and select Selection Filter or press CTRL-I on the keyboard.

Step 3: In the Selection Filter window, select Clear All to uncheck all elements. Check Parts.
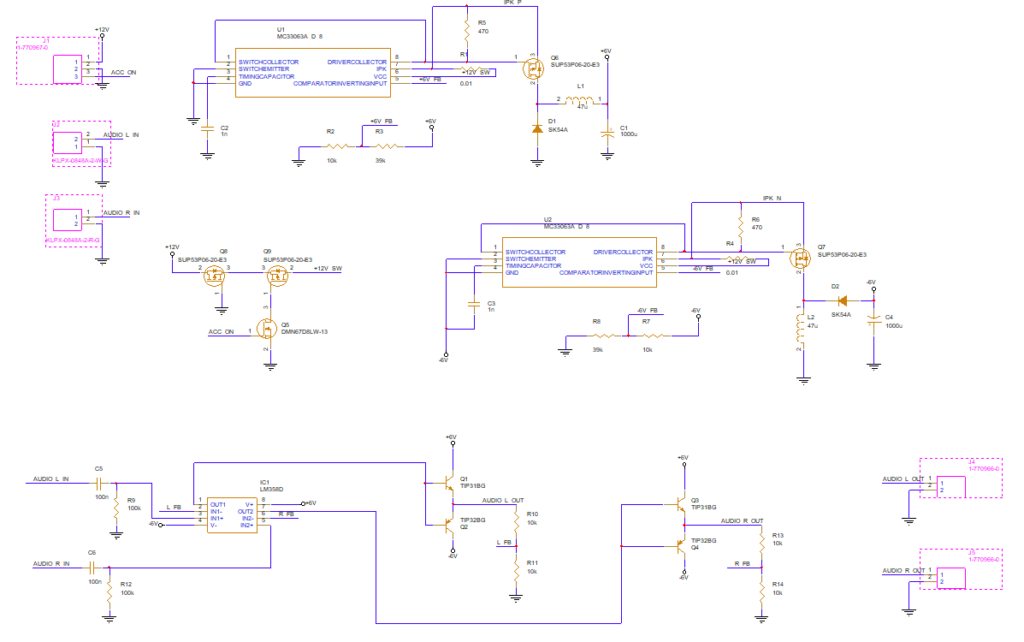
Step 4: Click and drag to select connectors J1, J2, J3, J4, and J5. Only the parts are highlighted.
Note: Alternatively, hold CTRL to select multiple parts.
Step 5: Right-click any of the selected parts and select Edit Properties.
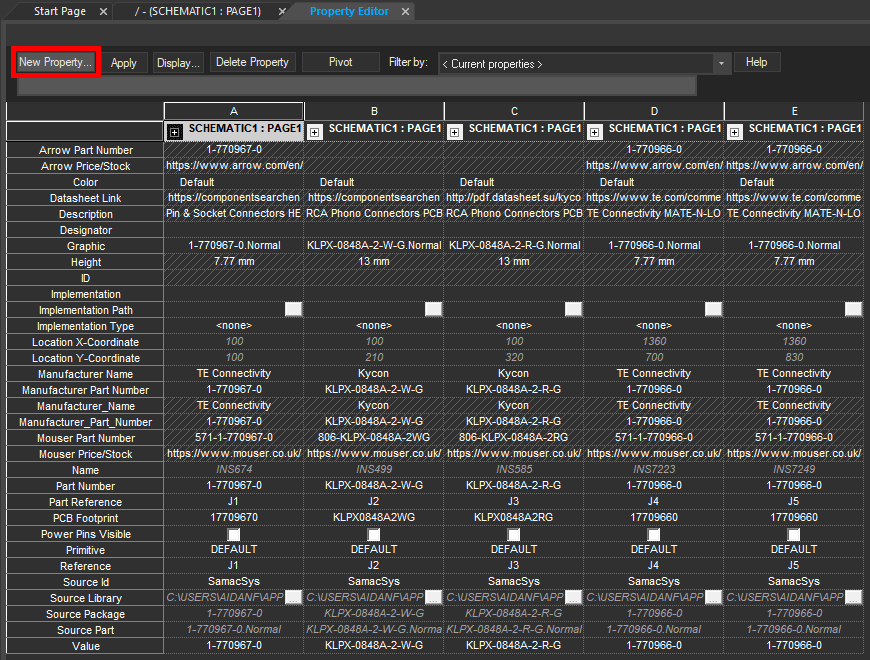
Step 6: The Property Editor tab opens. Select New Property.
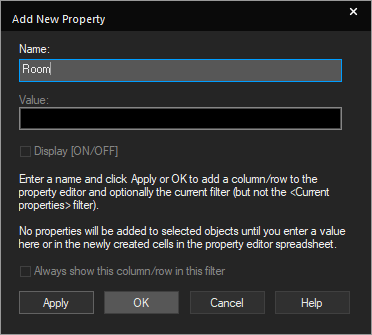
Step 7: Enter Room for the name and click OK. The property is added to the list as a row.
Step 8: Right-click the Room property and select Edit.
Note: This can be used to fill in the property for all instances at once.

Step 9: Enter the name Connector in the resulting window and click OK. The name is assigned to all selected components.
Step 10: Click Apply and close the Property Editor tab.
Assign Rooms for Components in Power Circuitry
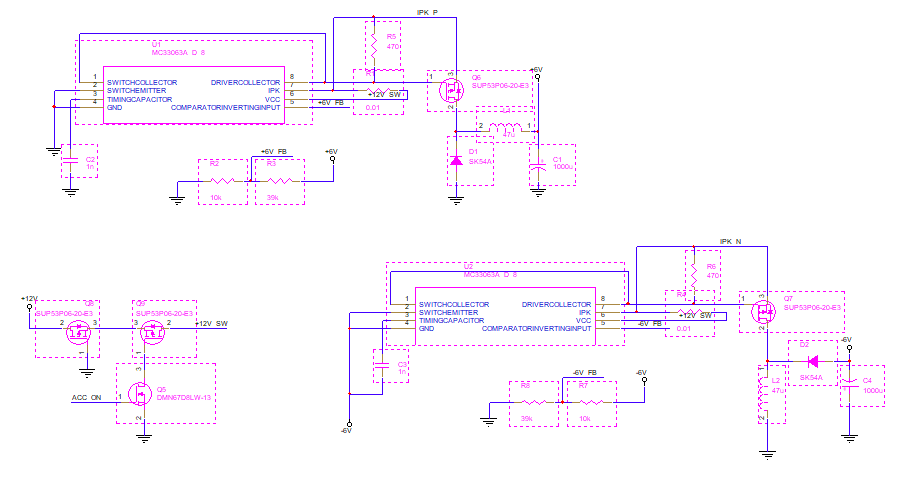
Step 11: Click and drag to select all power supply components in the upper half of the schematic.
Step 12: Right-click any one of the components and select Edit Properties.
Step 13: Select New Property in the Property Editor tab.
Step 14: Enter Room for the property name.Click OK.
Step 15: Select and right-click the Room property. Select Edit.

Step 16: Enter the name Power in the resulting window. Click OK.
Step 17: Click Apply and close the Property Editor tab.
Creating a Room for the Amplifier Circuit
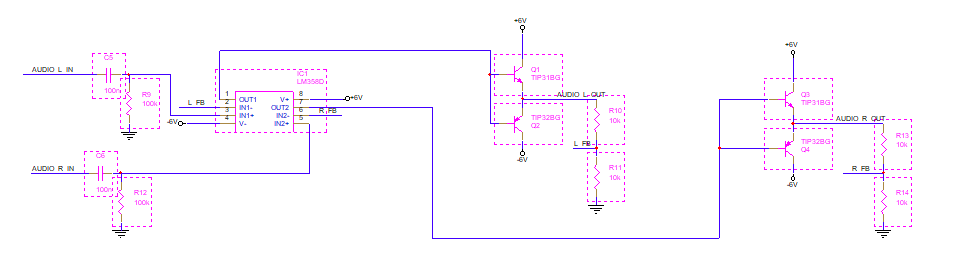
Step 18: Click and drag to select all amplifier components at the bottom of the schematic.
Step 19: Right-click any one of the components and select Edit Properties.
Step 20: Select New Property in the Property Editor tab.
Step 21: Enter Room for the property name and click OK.
Step 22: Select and right-click the Room property. Select Edit.
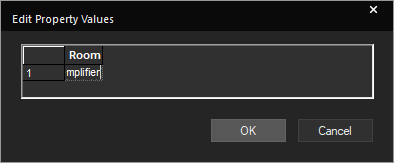
Step 23: Enter the name Amplifier in the resulting window. Click OK.
Step 24: Click Apply and close the Property Editor tab.
Wrap Up & Next Steps
Quickly place and group components in their optimal locations and keep distances short with the Rooms property in OrCAD Capture. To test out this functionality and more get a free trial of OrCAD. Get more step-by-step instructions for OrCAD Capture at EMA Academy.

