Creating a PCB design often comes with monotonous, repetitive tasks. For example, the time spent rotating components during placement, deleting components, and creating vias can accumulate and slow down the design process. While scripting can be used to expedite these tasks, they are simple enough to be done with a single shortcut key. Easily assign a permanent shortcut key in OrCAD X PCB Designer to accelerate the PCB design process.
This quick how-to will provide step-by-step instructions on how to assign a permanent shortcut key in OrCAD X PCB Designer.
To follow along, download the provided files above the table of contents.
How-To Video
 Open in New Window
Locating the Environment File
Note: Permanent shortcut keys must be defined in the environmental file for reuse in all PCB designs.
Just want a shortcut key for your current PCB design session? Learn how to configure shortcut keys directly in the OrCAD PCB design canvas here.
Step 1: Open File Explorer and enter %home% into the filepath bar.
Step 2: Double-click the pcbenv folder to open it.
Step 3: Locate the env file. Right-click and select Open With.
Step 4: Open the file in a text editor such as Notepad.
Assign a Permanent Shortcut Key in OrCAD
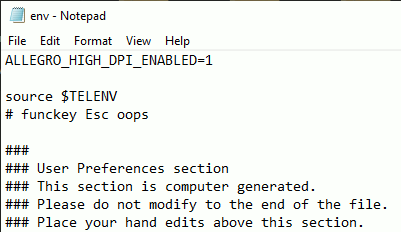
Step 5: Locate the section under source $TELENV.
Step 6: The following syntax can be used to define shortcut keys: funckey [keyboard key] [command].
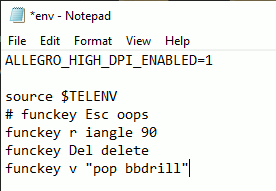
Enter funckey r iangle 90. This will assign the command iangle 90 to the R key on the keyboard.
Note: Any command available in PCB Designer can be assigned a shortcut key. Learn how to determine the commands used in OrCAD PCB Designer here. To assign multiple commands to a key, surround them in quotes.
Step 7: Enter funckey Del delete to assign the Delete command to the Delete key.
Step 8: Enter funckey v “pop bbdrill”. This will create a via when the v key is pressed during routing.
Step 9: Save and close the environment file.
Use Shortcut Keys in OrCAD
Step 10: Open the provided design in OrCAD X PCB Designer.
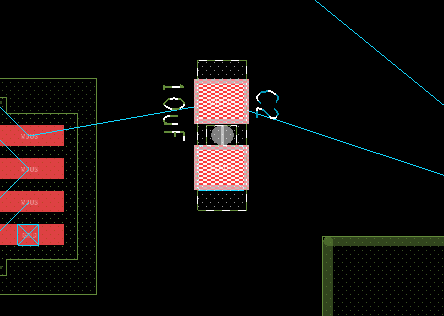
Step 11: Select capacitor C2 on the PCB canvas and press Delete on the keyboard. The capacitor is deleted.
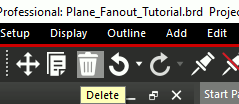
Note: The capacitor was deleted because the delete command was assigned to the Delete key. To delete without this shortcut, select the component and click Delete on the toolbar.
Step 12: Select Place > Components Manually from the menu.
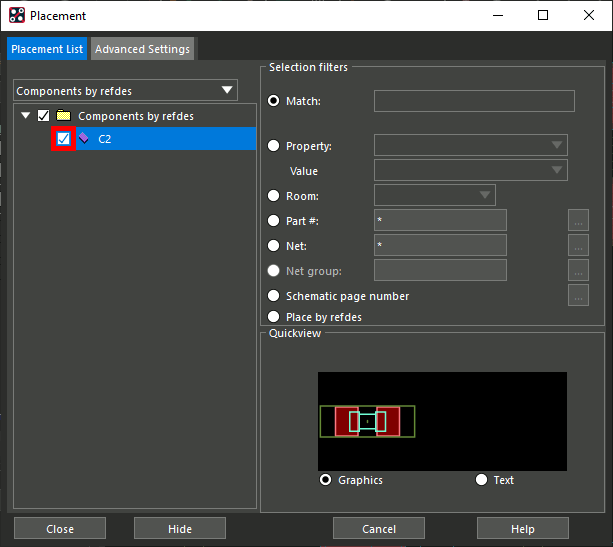
Step 13: Check C2 to re-add the capacitor.
Step 14: Click Hide to hide the Placement window.
Note: Do not close the placement window. Component placement will be canceled.
Step 15: Press R on the keyboard to rotate the capacitor. With the shortcut key assigned, the capacitor is rotated.
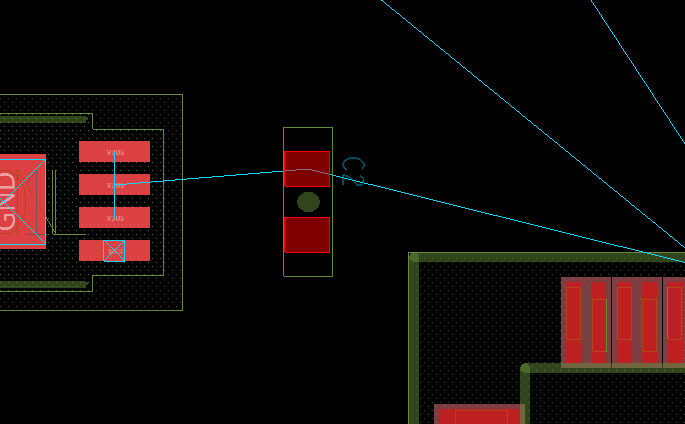
Step 16: Click to place the capacitor. Right-click and select Done.
Routing with Shortcut Keys
Step 17: Select Route > Connect from the menu.
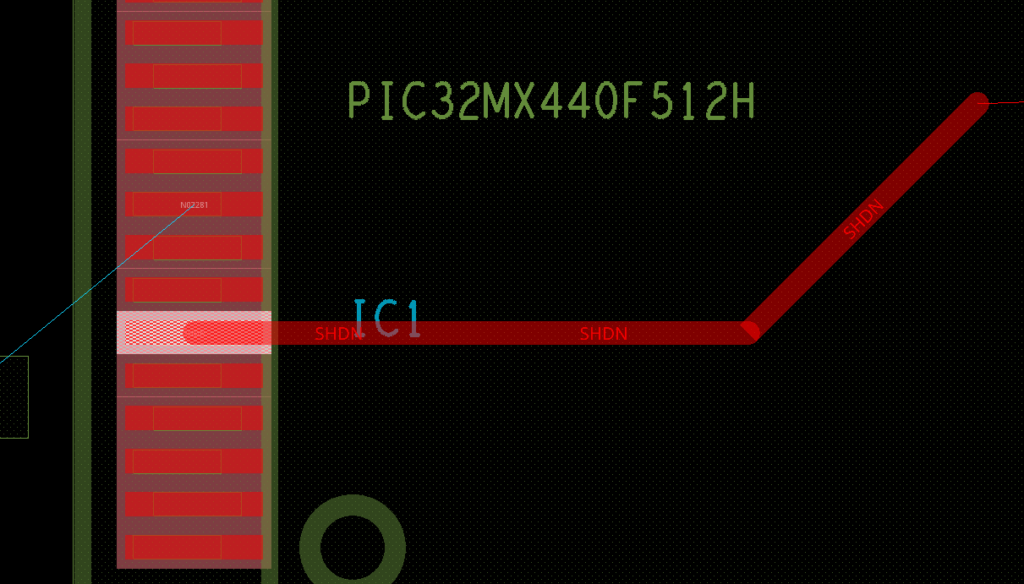
Step 18: Click the SHDN pin on IC1 to start routing a connection.
Step 19: In the Options panel, select Bottom as the alternate layer.
Note: This determines which layer the net will be routed on after a via is placed.
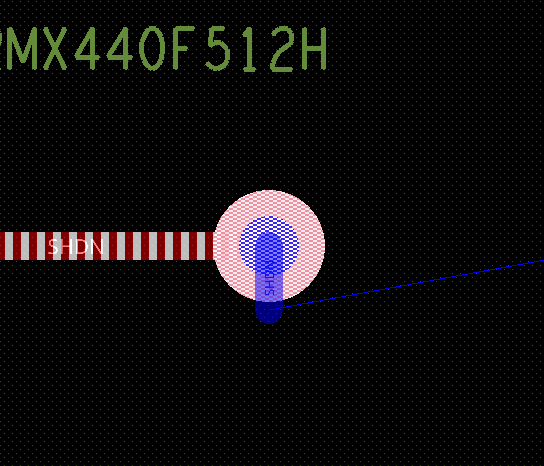
Step 20: Press V on the keyboard. As defined, a via is created and the layer is changed to Bottom.
Step 21: Right-click and select Done.
Wrap Up & Next Steps
Quickly reduce the time spent on PCB design tasks and assign permanent shortcut keys in OrCAD X PCB Designer.
To test out this feature and more, get a free trial of OrCAD. Get more how-tos for OrCAD at EMA Academy.

