When performing a simulation, errors and warnings can sometimes occur and result in a failed analysis. While most errors can be easily resolved, convergence errors can be difficult with no indication of what exactly went wrong. Solving a convergence error involves a trial-and-error approach of loosening component tolerances, but it’s difficult to achieve the correct balance; loosening enough for a successful simulation while still retaining accuracy and producing realistic results. Quickly determine the best tolerance settings for a successful and accurate simulation with automatic convergence in PSpice Designer.
This how-to will provide step-by-step instructions for utilizing Autoconverge functionality in OrCAD PSpice.
To follow along with this tutorial, download the provided files above the table of contents.
How-To Video

Convergence Errors in Simulation
Step 1: Open the provided file, ConvergenceError.opj, in OrCAD PSpice Designer.
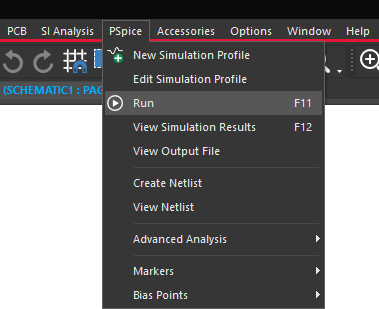
Step 2: Select PSpice > Run from the menu or the Run button on the toolbar.
Note: The simulation will produce a convergence error and the PSpice Runtime Settings window will be activated. A convergence error occurs when the calculations performed in the simulation cannot be made to fall within the set tolerances.
Activating Automatic Convergence
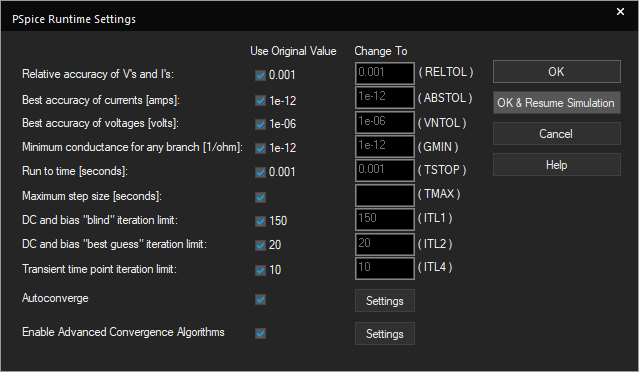
Step 3: View the PSpice Runtime Settings window.
Note: In this window, you can loosen the available tolerances to allow for the simulation to converge, but it is very difficult to determine which option(s) to loosen.
Step 4: Check Autoconverge and click OK & Resume Simulation.
Note: Autoconverge determines how to loosen the tolerances by the smallest amount and achieve convergence.

Step 5: The Simulation Messages window will appear. Select No to view the simulation results.
Step 6: Close out of the simulation window.
Enabling Automatic Convergence
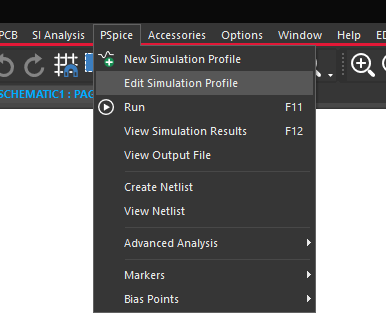
Step 7: Back in the schematic canvas, select PSpice > Edit Simulation Profile from the menu.
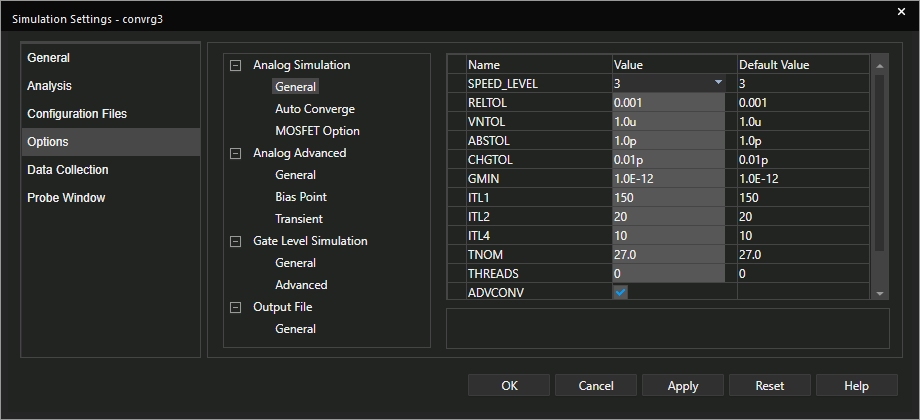
Step 8: Select Options from the menu on the left.
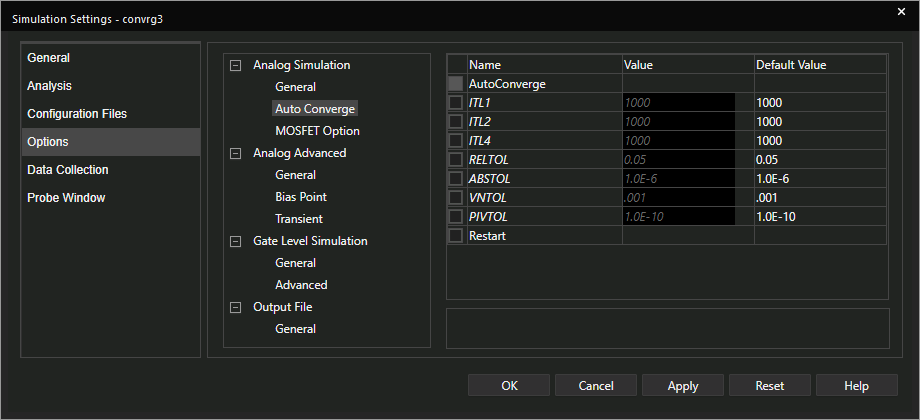
Step 9: Select Analog Simulation > Auto Converge.
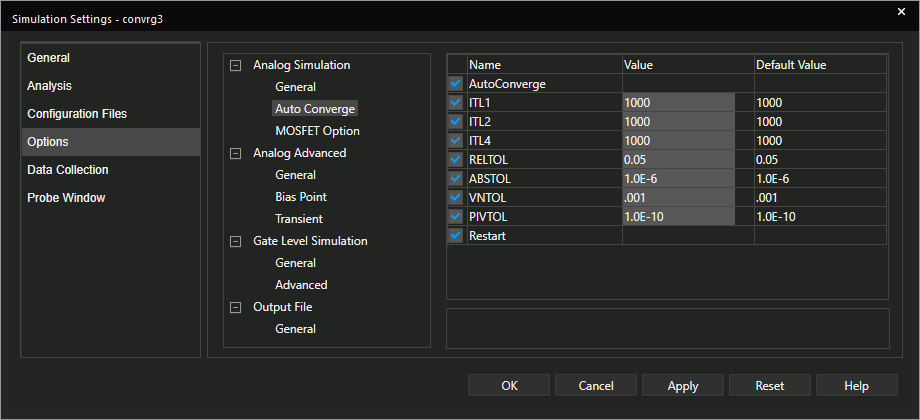
Step 10: Check AutoConverge and click OK.
Note: This will activate automatic convergence for the active simulation.
Automatic Simulation Convergence
Step 11: Select PSpice > Run from the menu or the Run button on the toolbar.
Step 12: Select No when the Simulation Messages window appears.
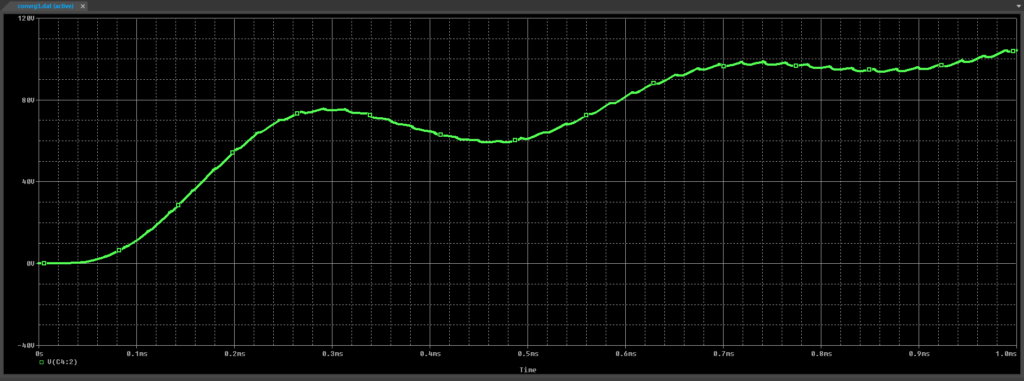
Step 13: View the results.
Note: The simulation was completed successfully by activating AutoConverge from the start of the simulation.
Wrap Up & Next Steps
Manually resolving errors or warnings when they occur in a simulation can be time-consuming and ambiguous. Efficiently adjust simulation tolerances responsible for convergence errors and achieve a successful, accurate simulation with the AutoConverge functionality in OrCAD PSpice Designer. See how PSpice simulates your designs quickly and accurately with free trial.

